

here is the link to the template if you didn't already pick it up
http://upload.acherryontop.com/product/9005243
First off open your digital program….I am using Photoshop CS2, so all of my directions are based on this program….there are lots of programs out there, so hopefully this will at least give you a basic concept on how to work with templates
Step #1:
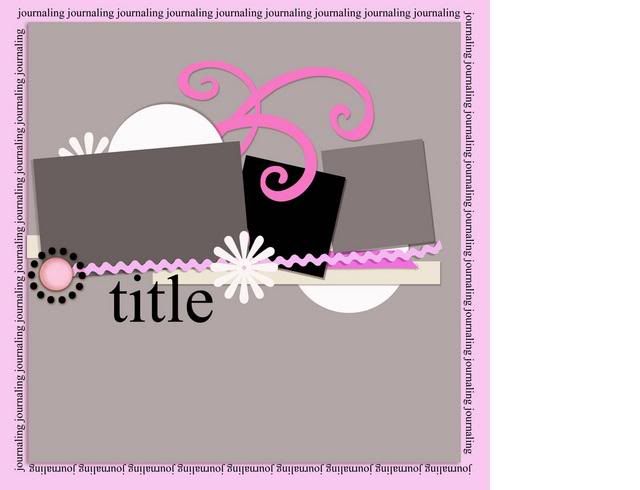
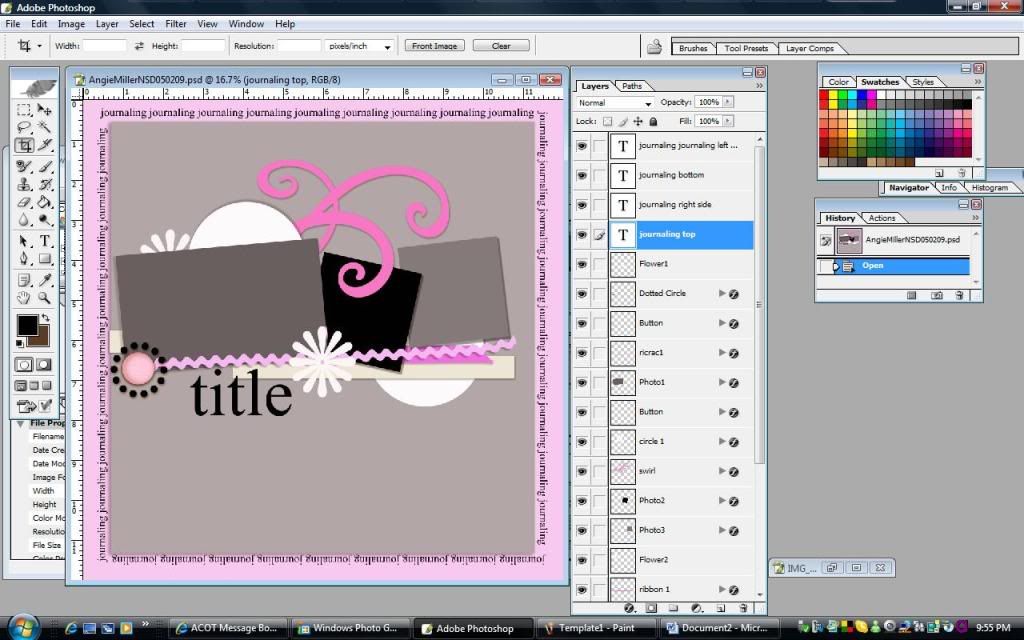
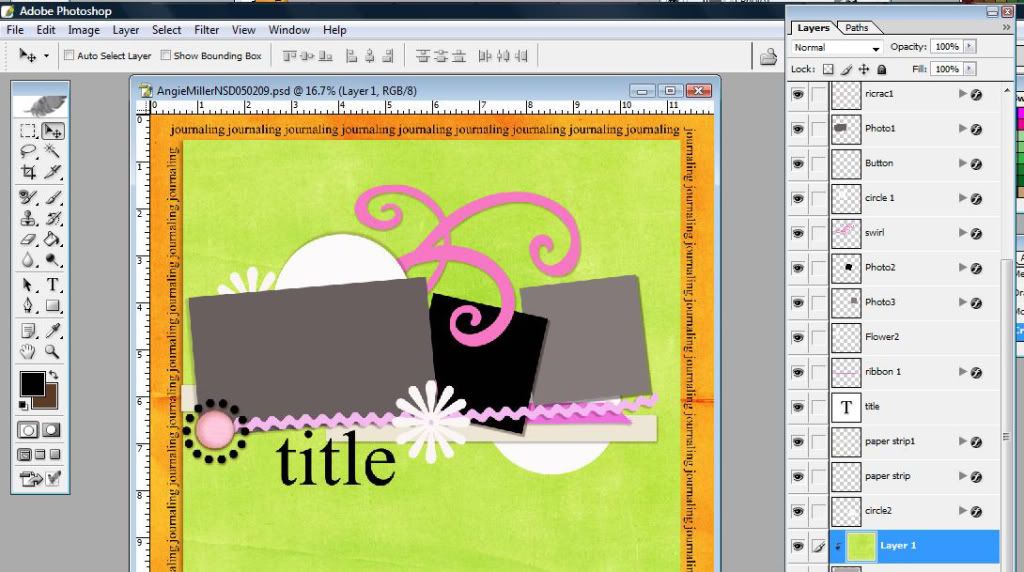
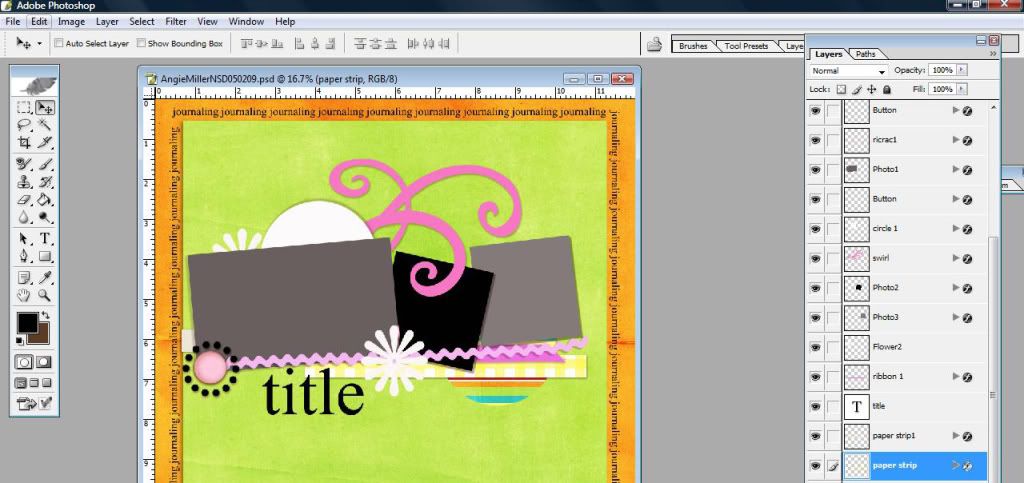
Open your file browser and open your template
Step #2:
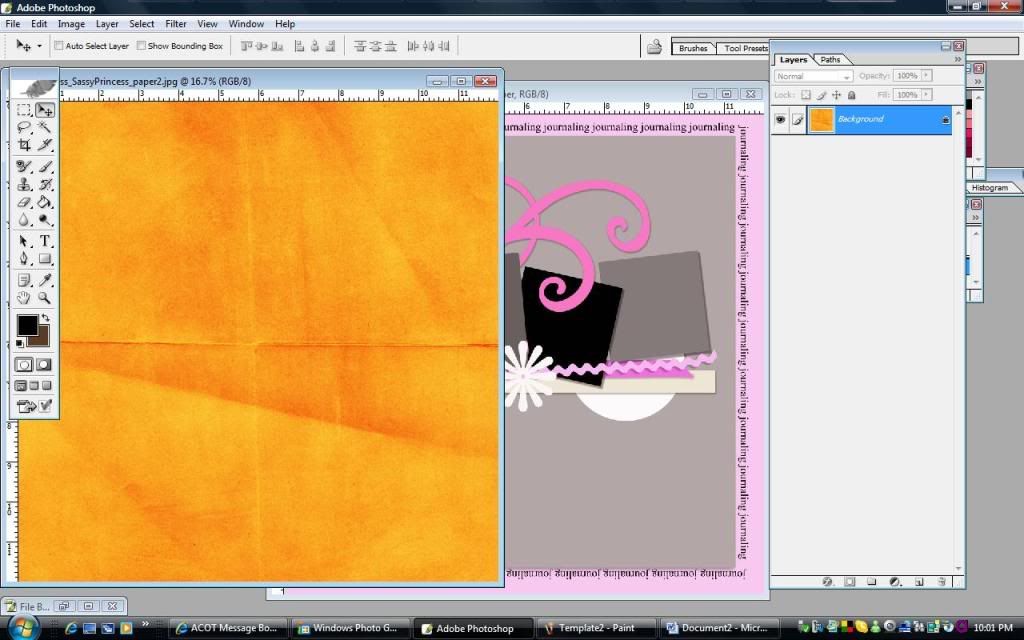
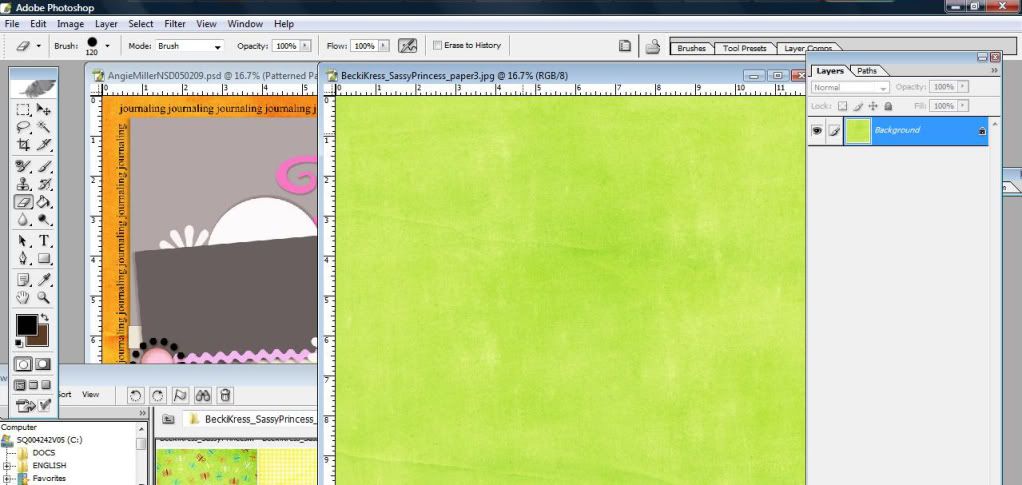
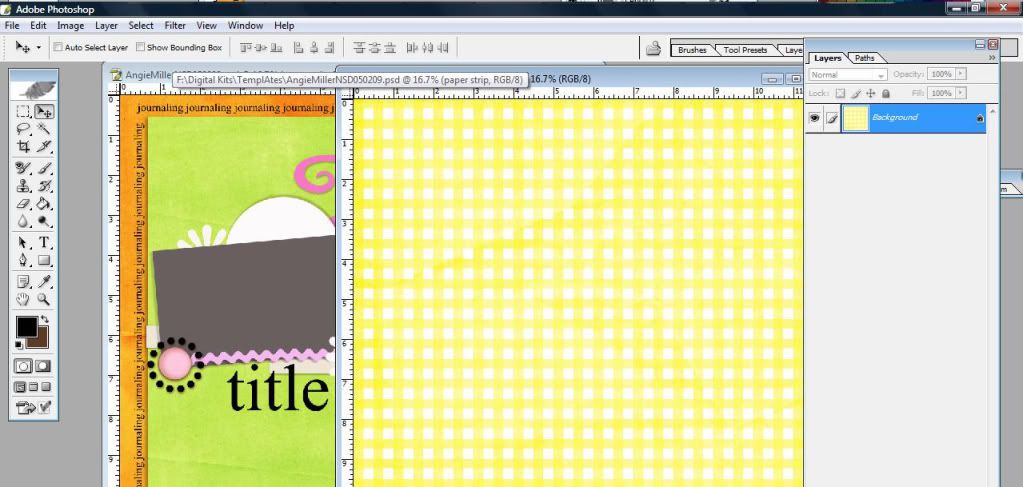
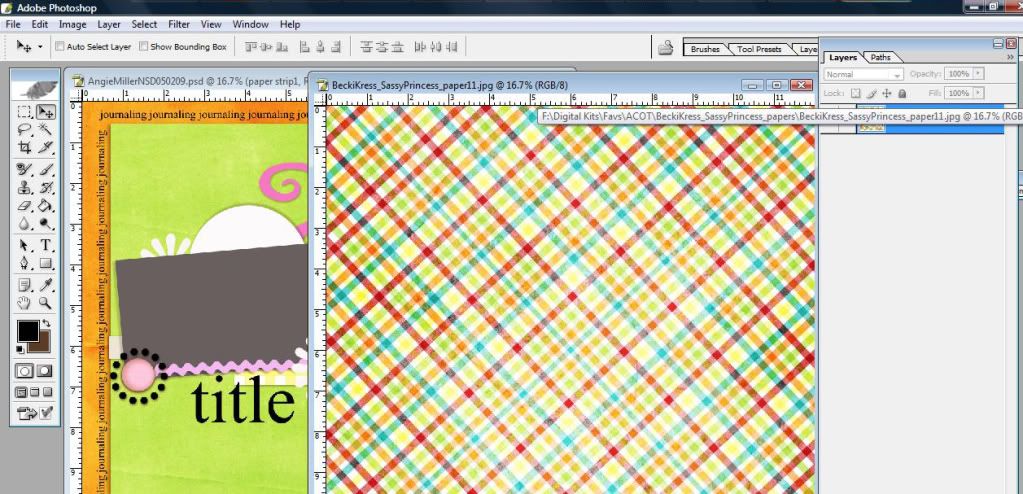
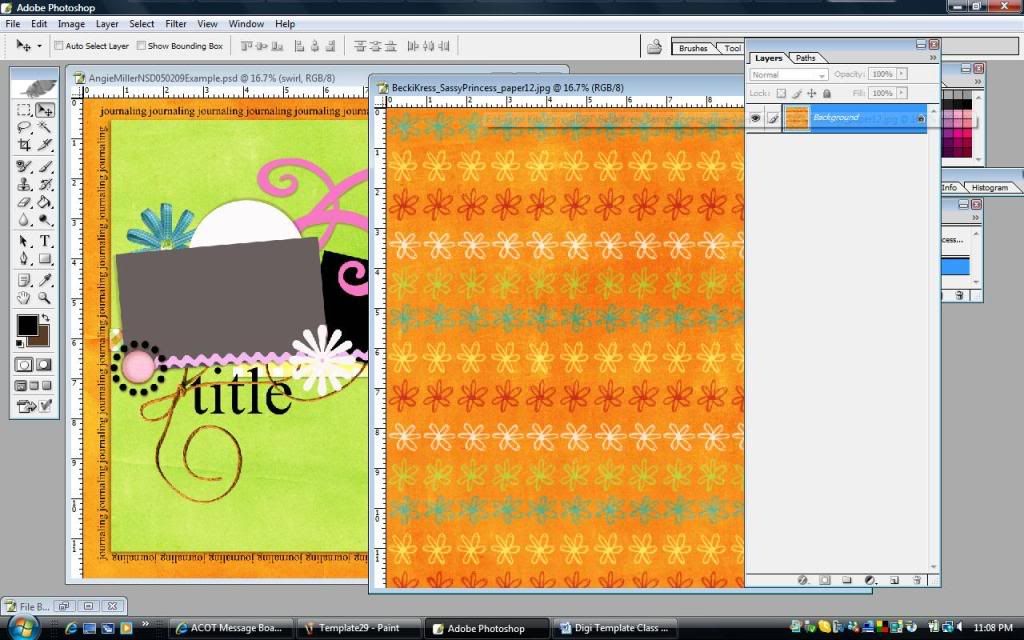
Open your file browser and pick a kit that you would like to work with and pick out a background paper that you like {we are going to do the 2 background papers first, but you can work on your template in any order you like}
Step #3:
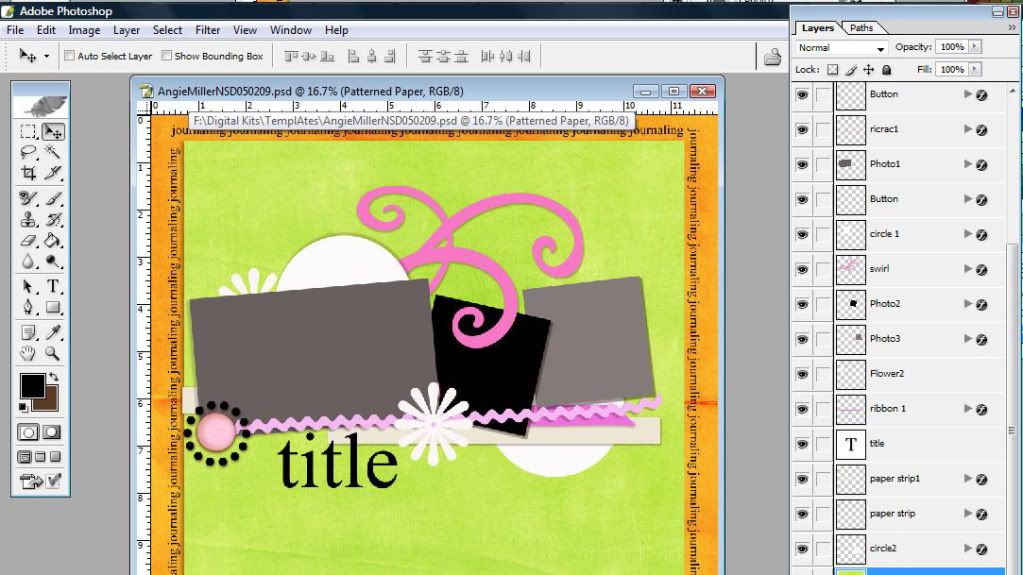
Click on your move tool {in PS it is the little tool in the main box, top row to the right…looks like a + with an arrow on each end of the lines of the +} and place that tool over your background paper layer, right click and DRAG it over to your template….make sure that layer is DIRECTLY above the background layer…..
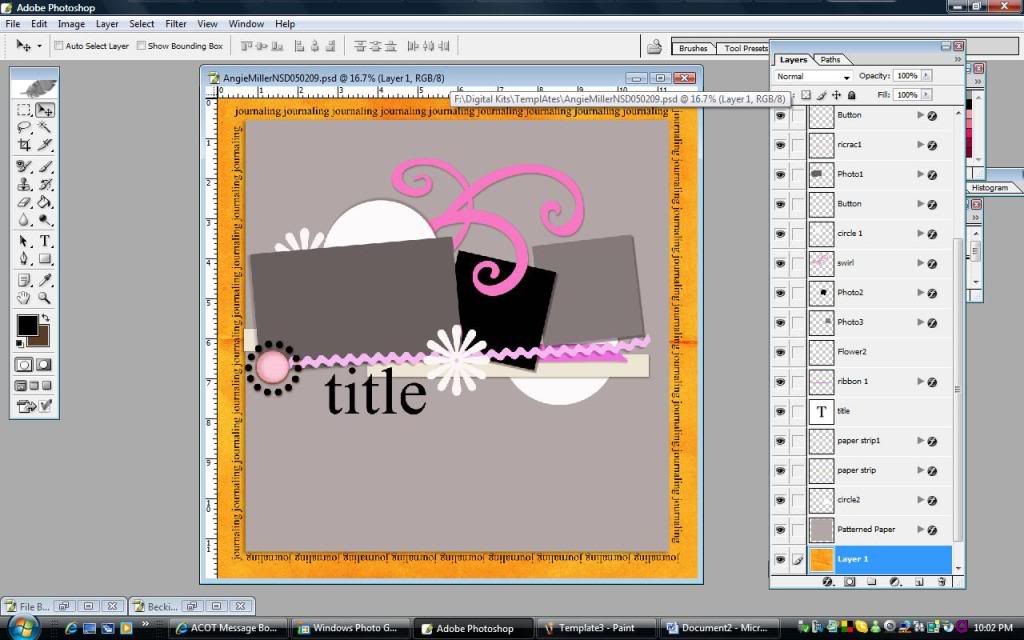
Step #4:
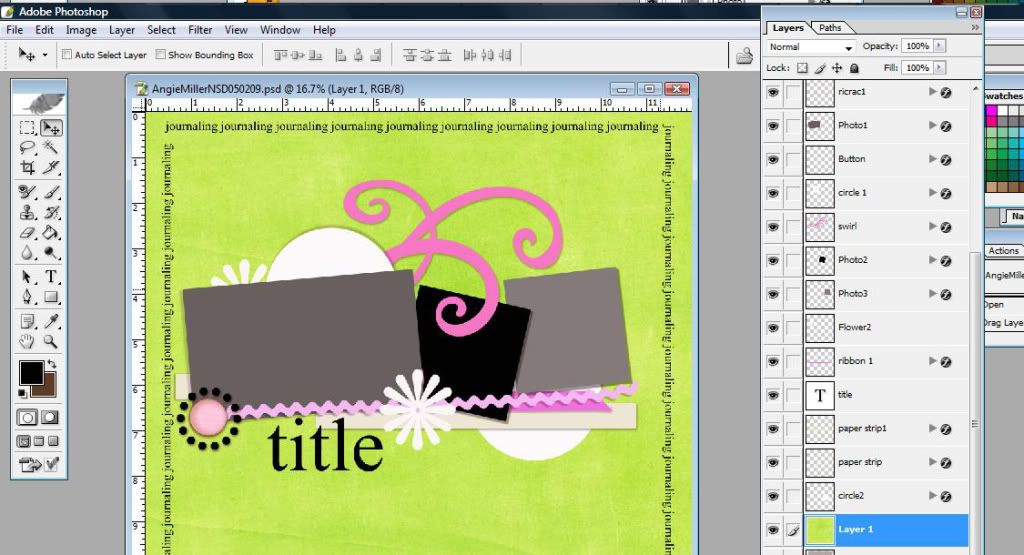
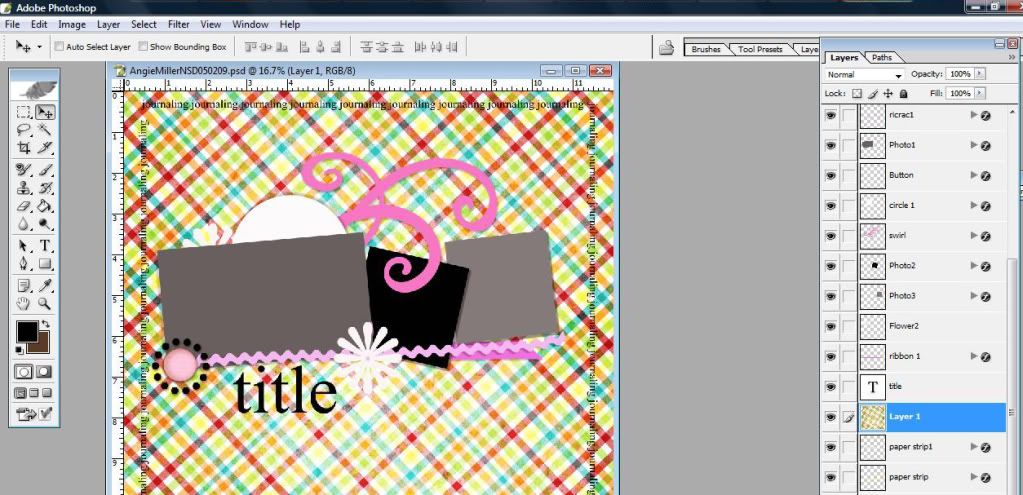
Now you are going to MERGE the layers down…I use CTR + G then CTR+E….this will merge your background paper onto your grayscale background….
Step #5:
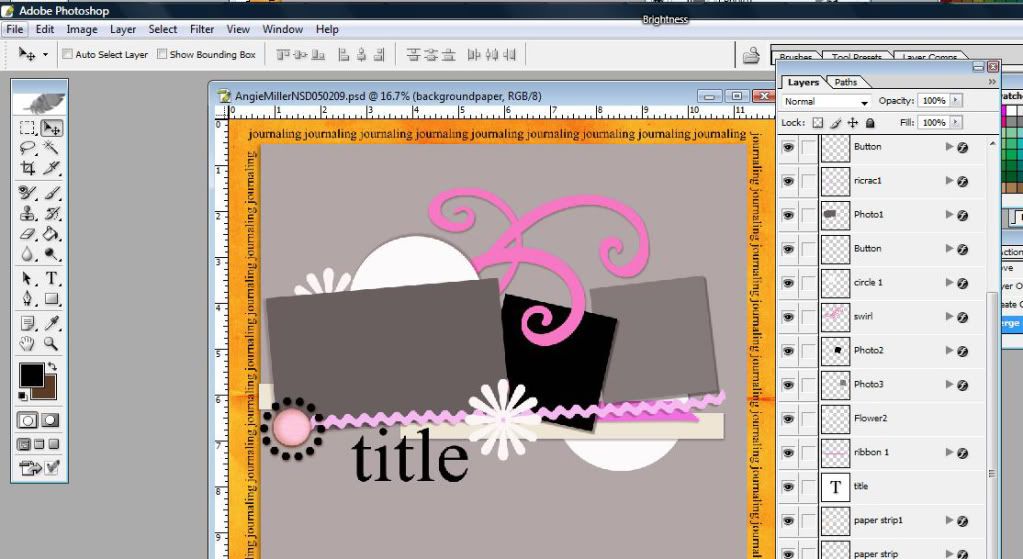
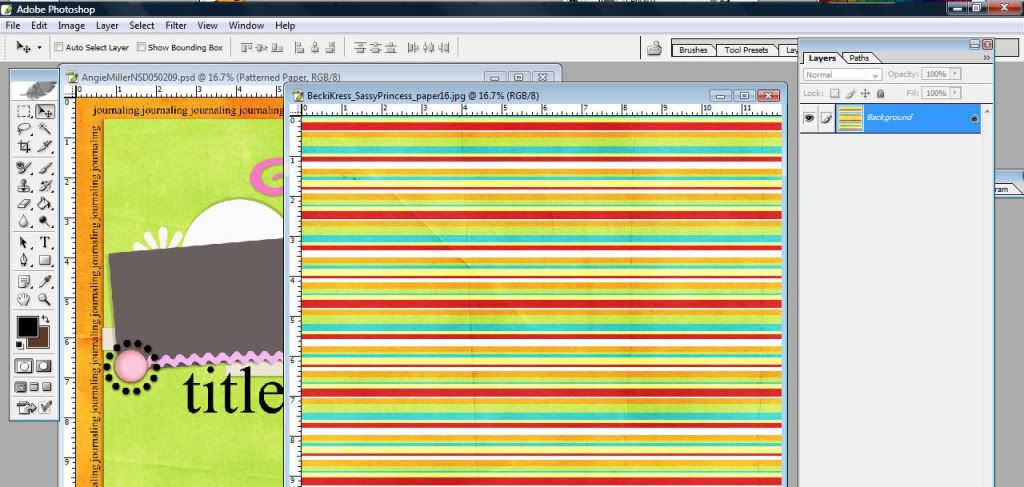
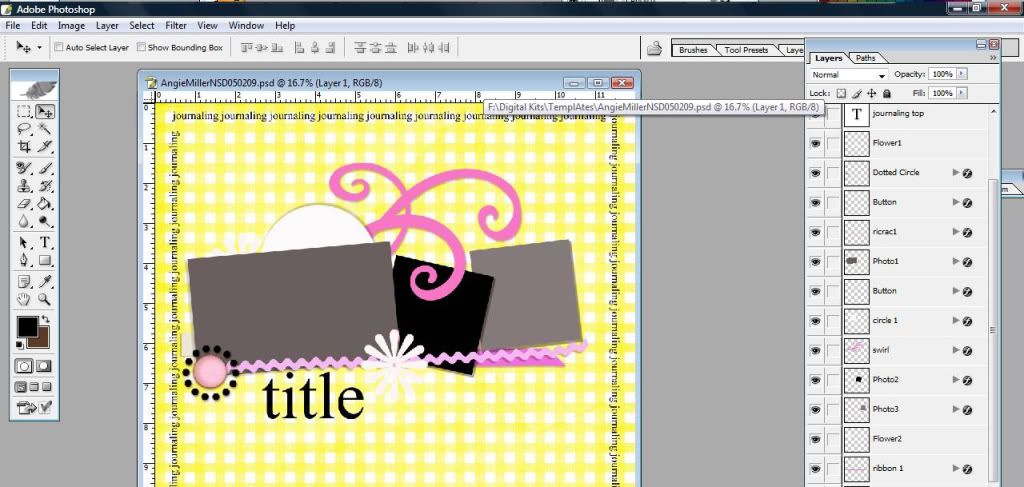
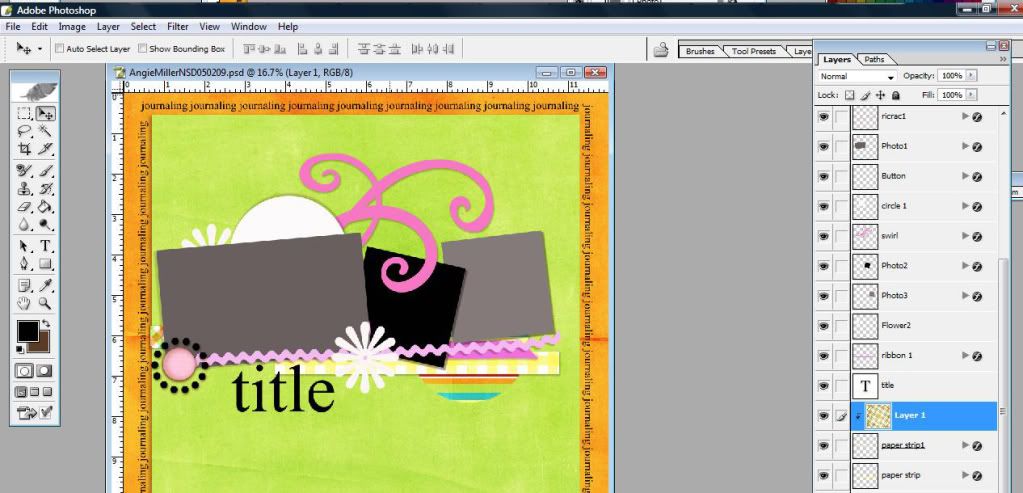
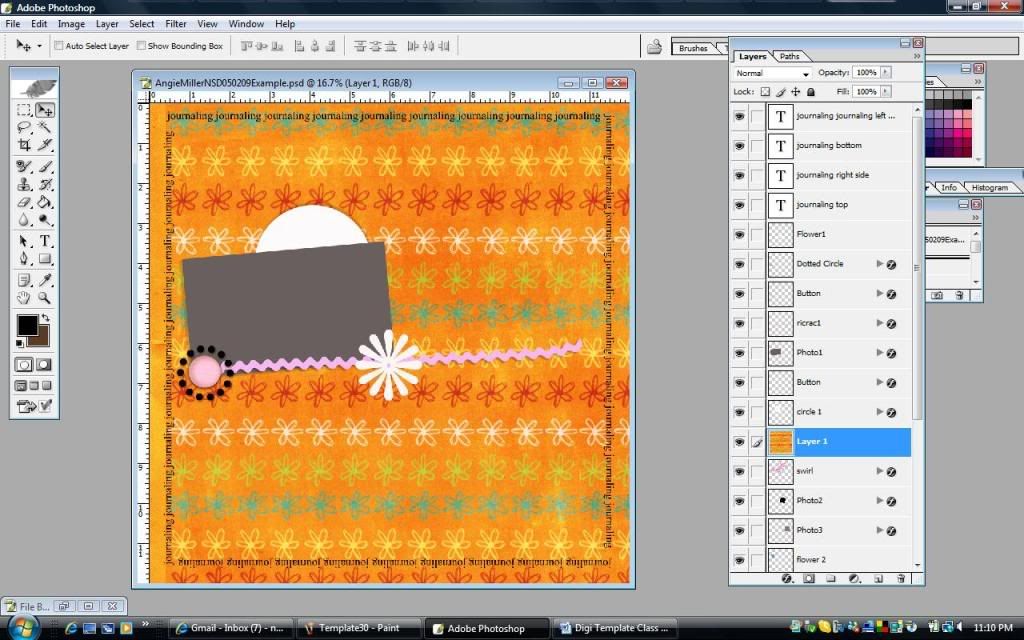
Now pick your smaller background paper from the same kit {pattern paper is the name of the layer on the template}…I picked the lime green paper…..now we are going to repeat steps #3 & #4…. Click on your move tool and place that tool over your pattern/solid paper, right click and DRAG it over to your template….make sure that layer is DIRECTLY above the pattern paper layer… Now you are going to MERGE the layers down…I use CTR + G then CTR+E….this will merge your pattern/solid paper onto your grayscale pattern paper layer
Step #6:
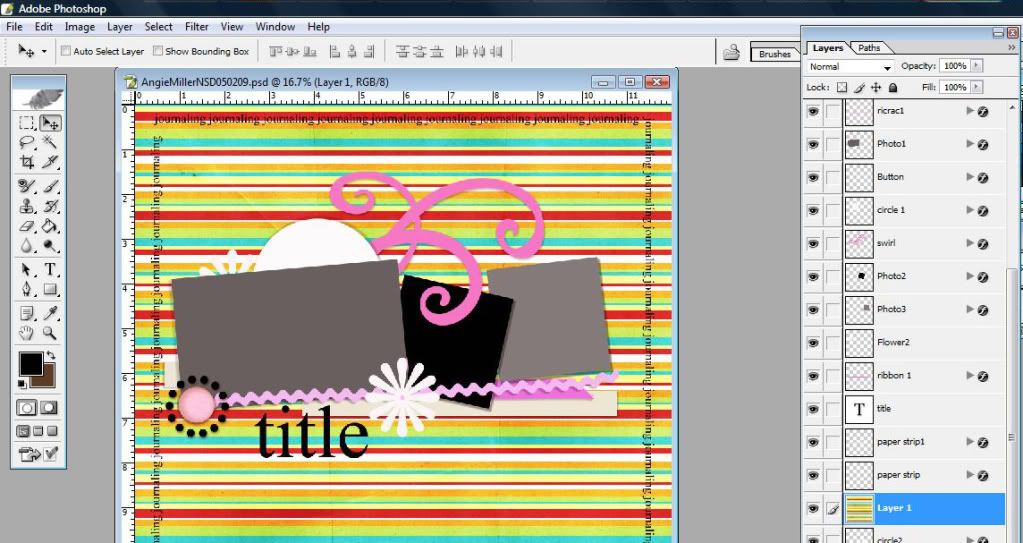
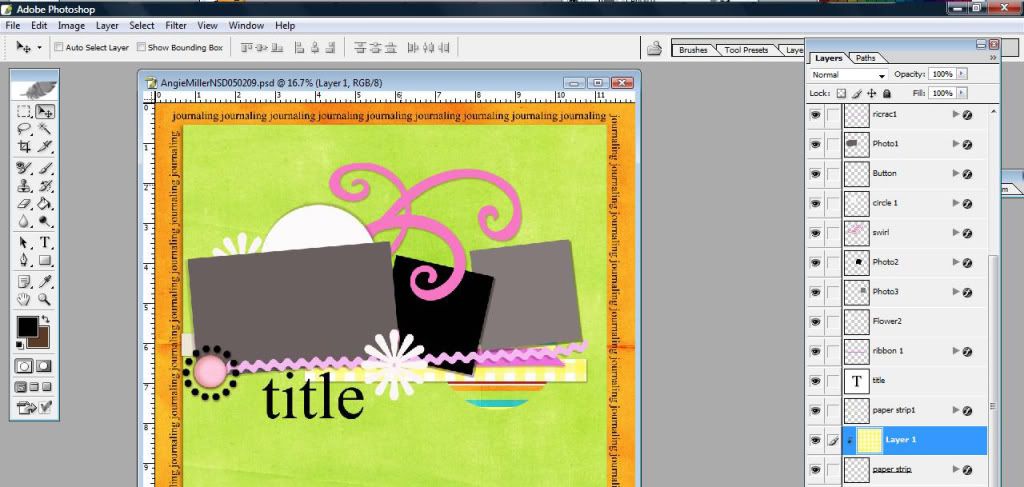
Now pick another pattern or solid paper that you would like to use as your circle #2 embellishment {I choose the stripped pattern paper from the kit}… now we are going to repeat steps #3 & #4…. Click on your move tool and place that tool over your pattern/solid paper, right click and DRAG it over to your template….make sure that layer is DIRECTLY above the circle2 layer… Now you are going to MERGE the layers down…I use CTR + G then CTR+E….this will merge your pattern/solid paper onto your white circle2 layer

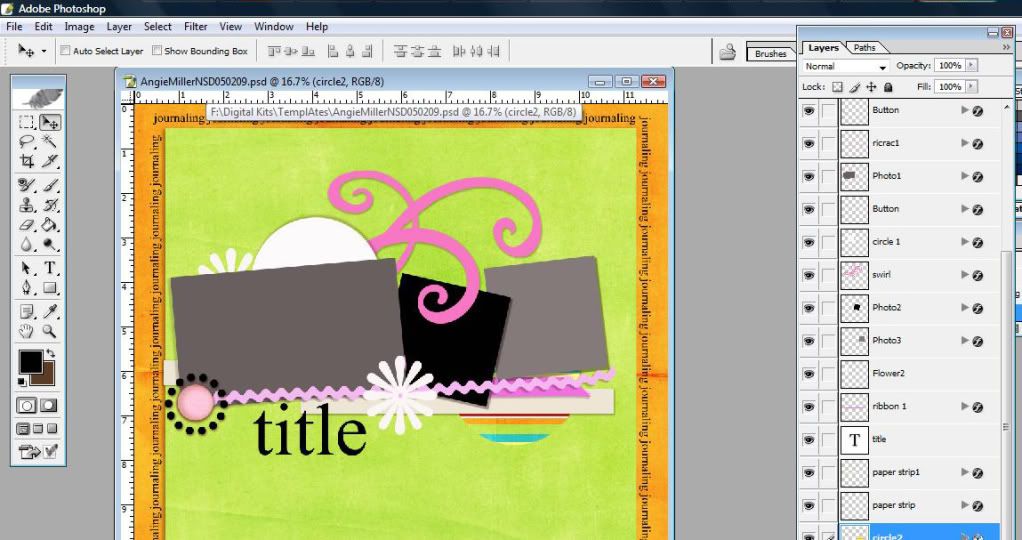
Step#7:
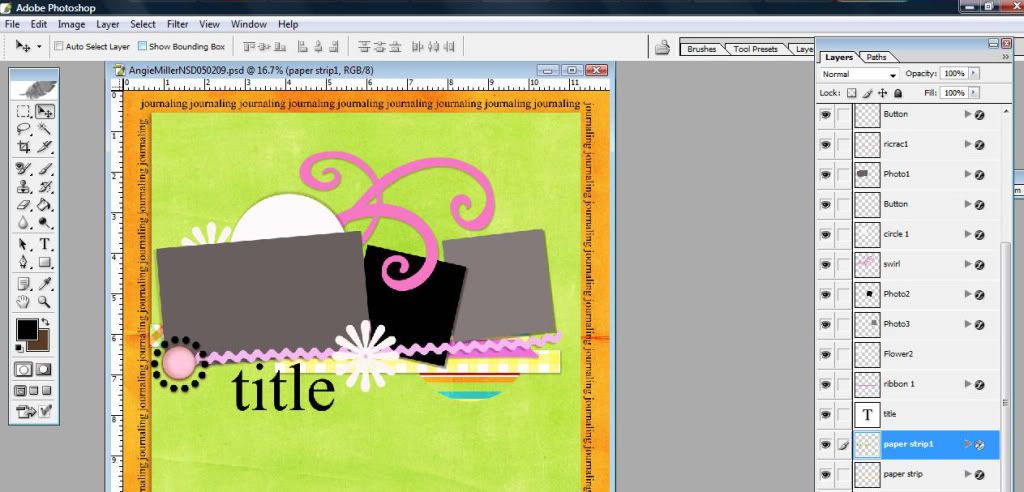
Now pick another pattern or solid paper that you would like to use as your paper strip embellishment {I choose the yellow gingham pattern paper from the kit}… now we are going to repeat steps #3 & #4…. Click on your move tool and place that tool over your pattern/solid paper, right click and DRAG it over to your template….make sure that layer is DIRECTLY above the paper strip layer… Now you are going to MERGE the layers down…I use CTR + G then CTR+E….this will merge your pattern/solid paper onto your paper strip layer
Step#8:
Now pick another pattern or solid paper that you would like to use as your paper strip embellishment #1 {I choose the multi colored criss cross pattern paper from the kit}… now we are going to repeat steps #3 & #4…. Click on your move tool and place that tool over your pattern/solid paper, right click and DRAG it over to your template….make sure that layer is DIRECTLY above the paper strip1 layer… Now you are going to MERGE the layers down…I use CTR + G then CTR+E….this will merge your pattern/solid paper onto your paper strip1 layer
Step #9:
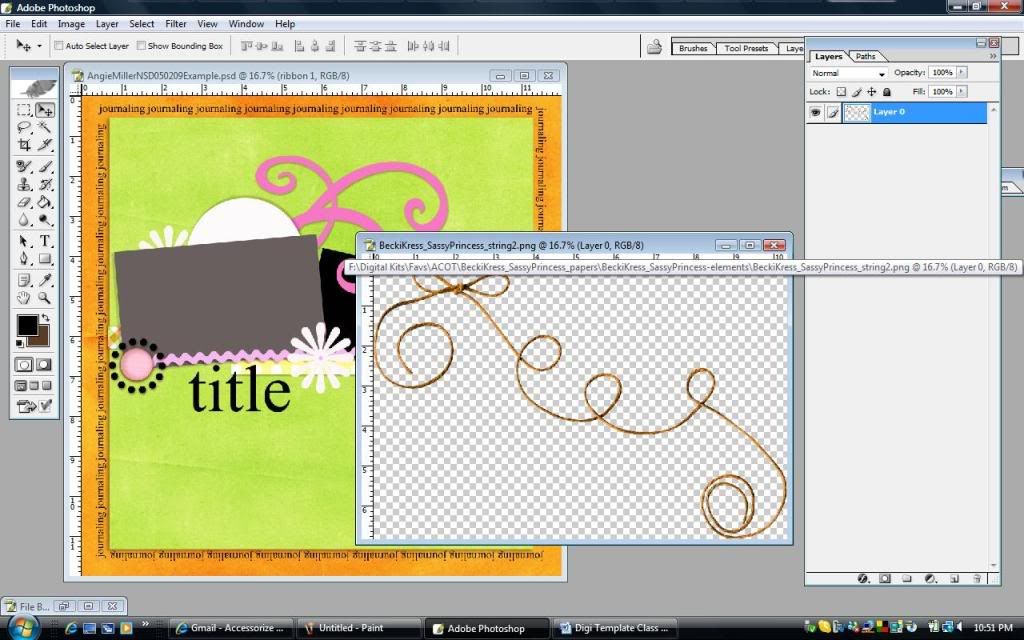
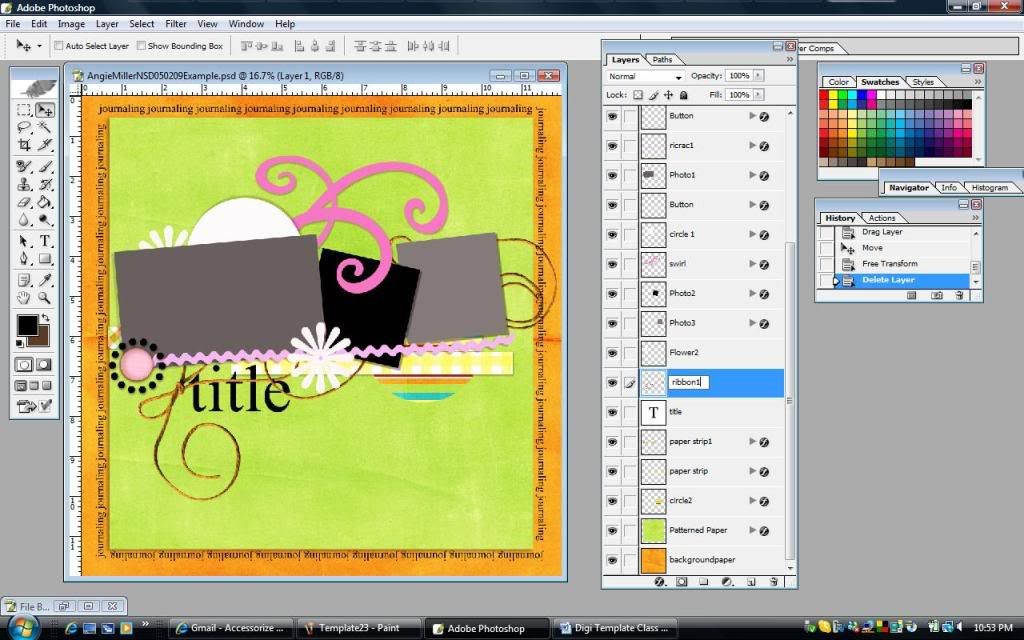
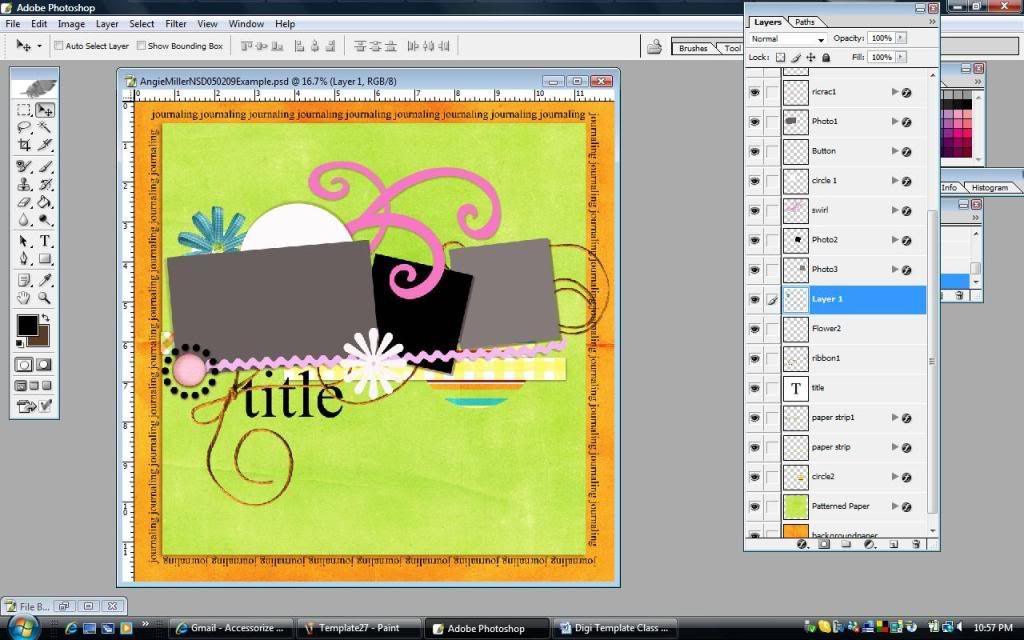
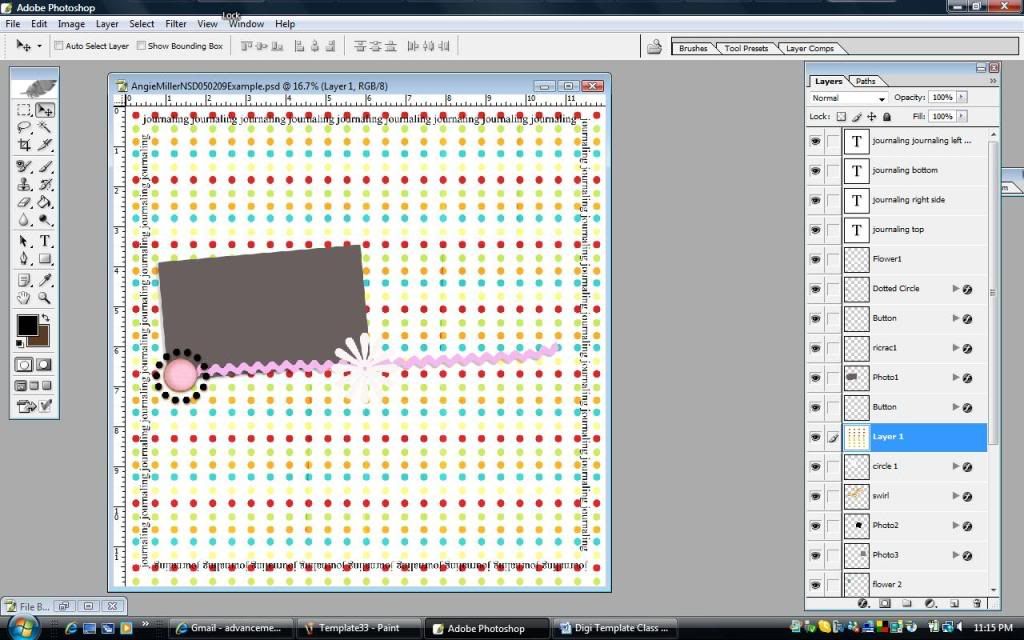
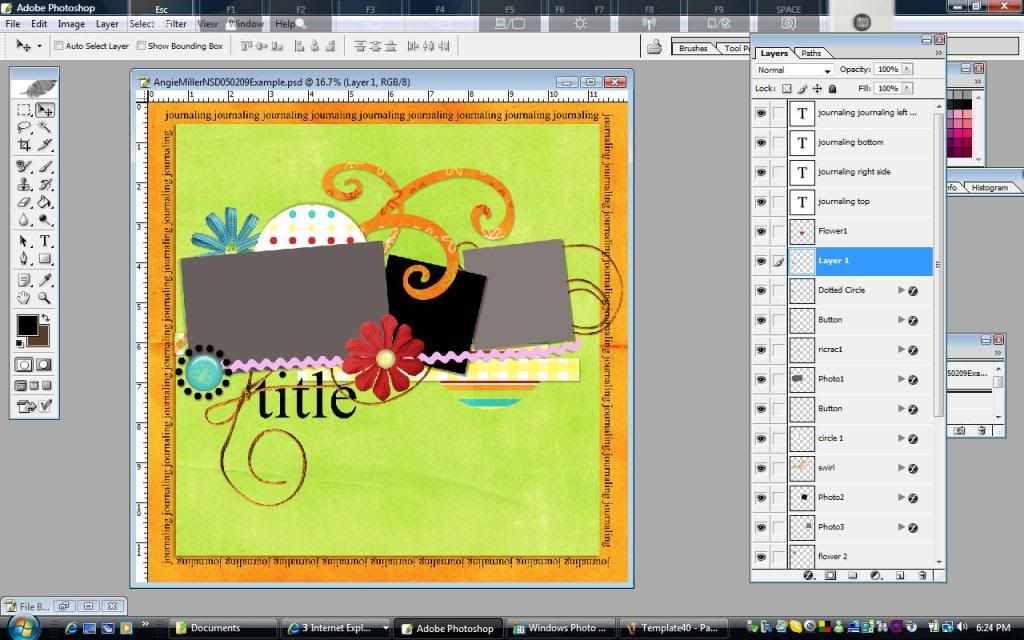
Now pick a ribbon from the kit you are using or any other kit of your choice that you would like to use as your ribbon1 element{I choose the orange curvy string from the kit}… Click on your move tool and place that tool over your ribbon, right click and DRAG it over to your template….make sure that layer is DIRECTLY above the ribbon1 layer… Now you are going to delete the grayscale ribbon1 layer … now you will see that your RIBBON layer just says “Layer 1” in your layers pallete..we are going to rename it “ribbon1”..{NOTE: you can arrange the ribbon however you like…..I tilted mine at an angle}
Step #10:
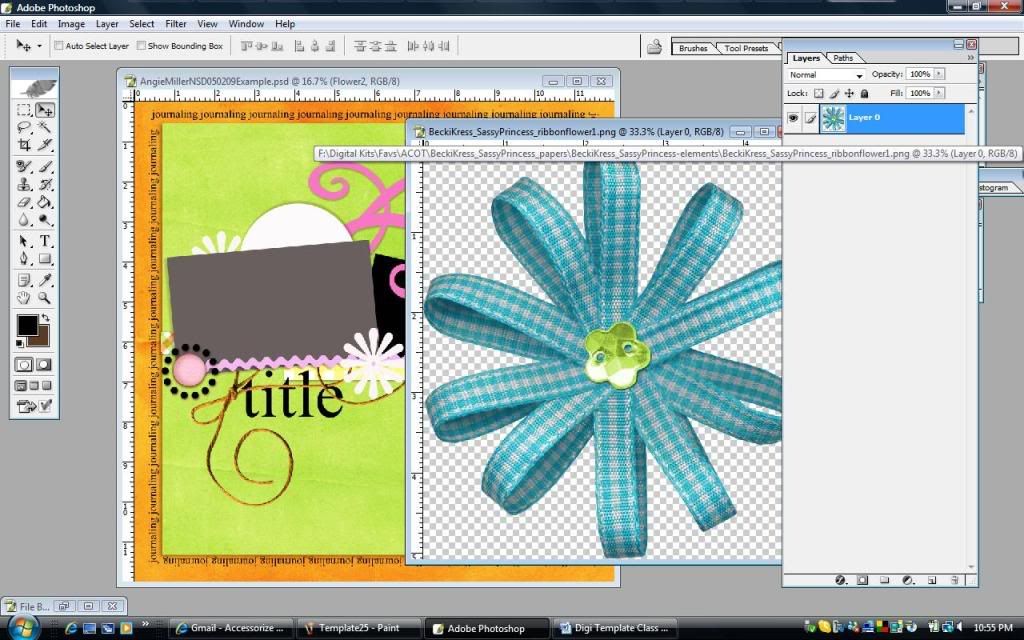
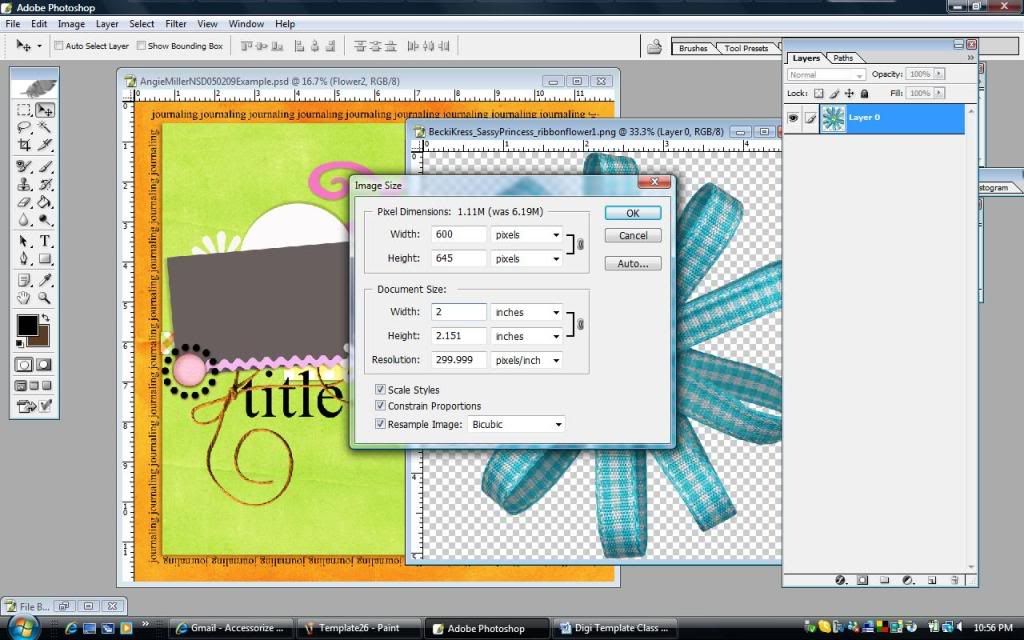
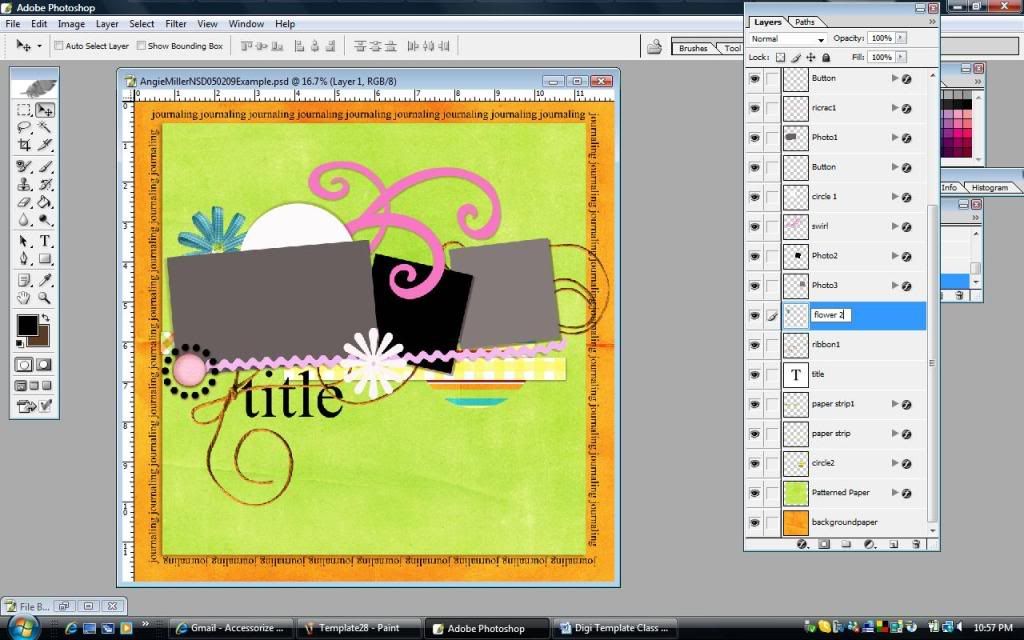
Now pick a flower from the kit you are using or any other kit of your choice that you would like to use as your flower2 element{I choose the big blue ribbon flower from the kit}… NOTE: you can resize the flower to any size you like…I made mine roughly 2x2 inches….Click on your move tool and place that tool over your flower, right click and DRAG it over to your template….make sure that layer is DIRECTLY above the flower2 layer… Now you are going to delete the grayscale flower2 layer … now you will see that your FLOWER layer just says “Layer 1” in your layers pallete..we are going to rename it “flower2”..{NOTE: you can arrange the flower however you like…..}
Step #11:
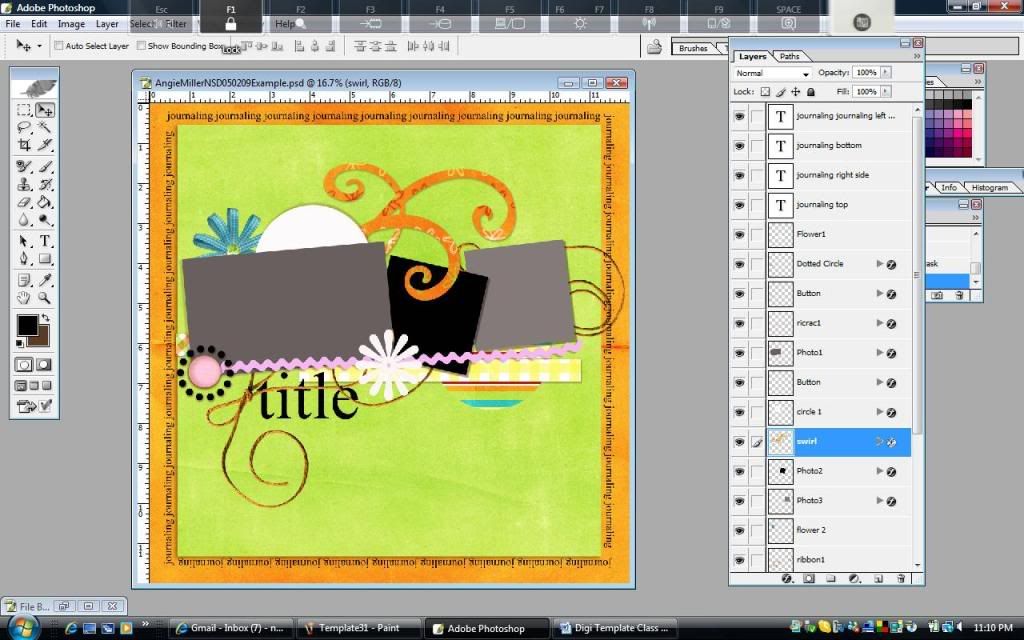
Now pick another pattern or solid paper that you would like to use as your swirl embellishment {I choose the multi colored orange pattern paper from the kit}… now we are going to repeat steps #3 & #4…. Click on your move tool and place that tool over your pattern/solid paper, right click and DRAG it over to your template….make sure that layer is DIRECTLY above the swirl layer… Now you are going to MERGE the layers down…I use CTR + G then CTR+E….this will merge your pattern/solid paper onto your swirl layer
Step #12:
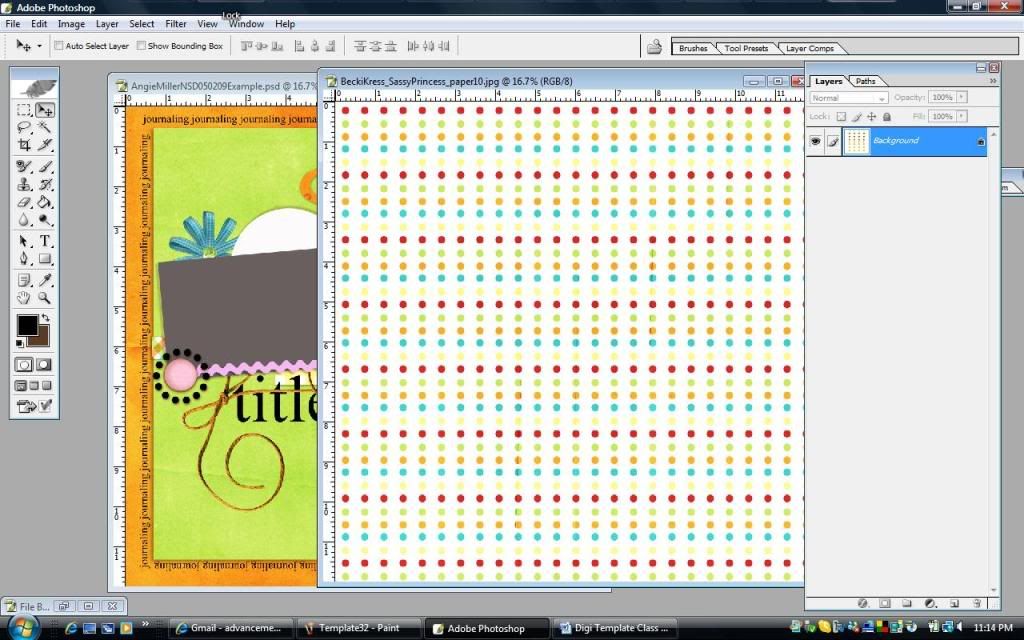
Now pick another pattern or solid paper that you would like to use as your circle layer{I choose the multi colored polka dot paper from the kit}… now we are going to repeat steps #3 & #4…. Click on your move tool and place that tool over your pattern/solid paper, right click and DRAG it over to your template….make sure that layer is DIRECTLY above the circle layer… Now you are going to MERGE the layers down…I use CTR + G then CTR+E….this will merge your pattern/solid paper onto your circle layer
Step #13:
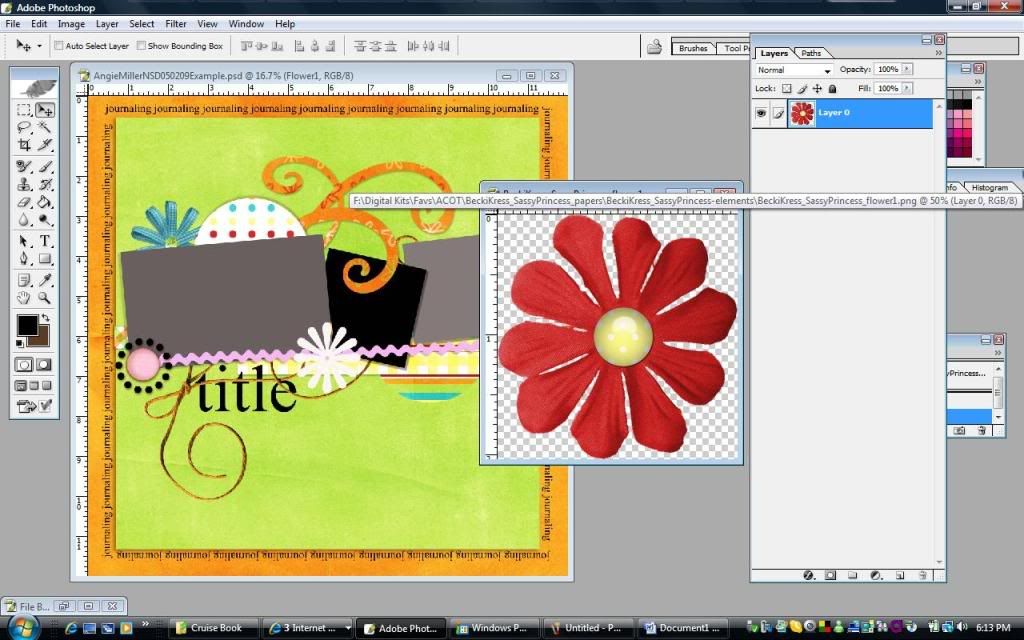
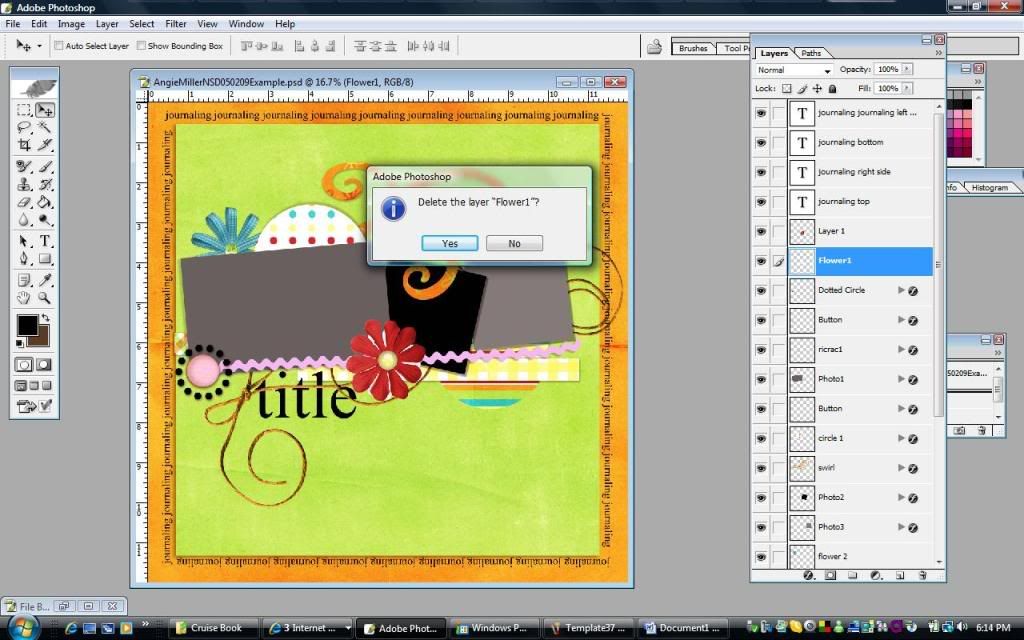
Now pick a flower from the kit you are using or any other kit of your choice that you would like to use as your flower1 element{I choose the red flower from the kit}… NOTE: you can resize the flower to any size you like…I made mine roughly 1x1 inches….Click on your move tool and place that tool over your flower, right click and DRAG it over to your template….make sure that layer is DIRECTLY above the flower1 layer… Now you are going to delete the grayscale flower1 layer … now you will see that your FLOWER layer just says “Layer 1” in your layers pallete..we are going to rename it “flower1”..{NOTE: you can arrange the flower however you like…..}

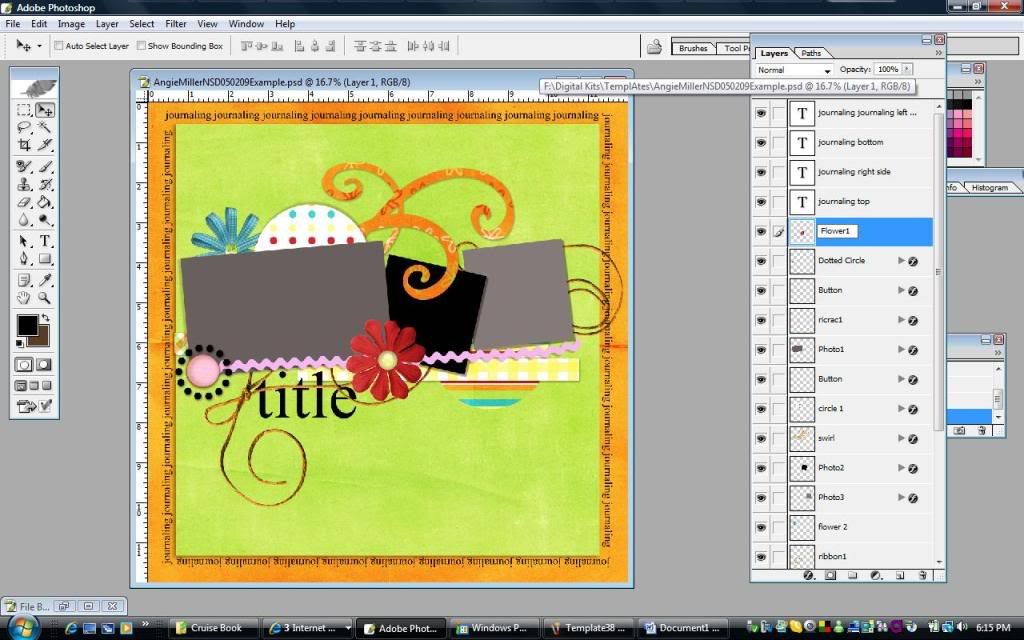
Step #14:
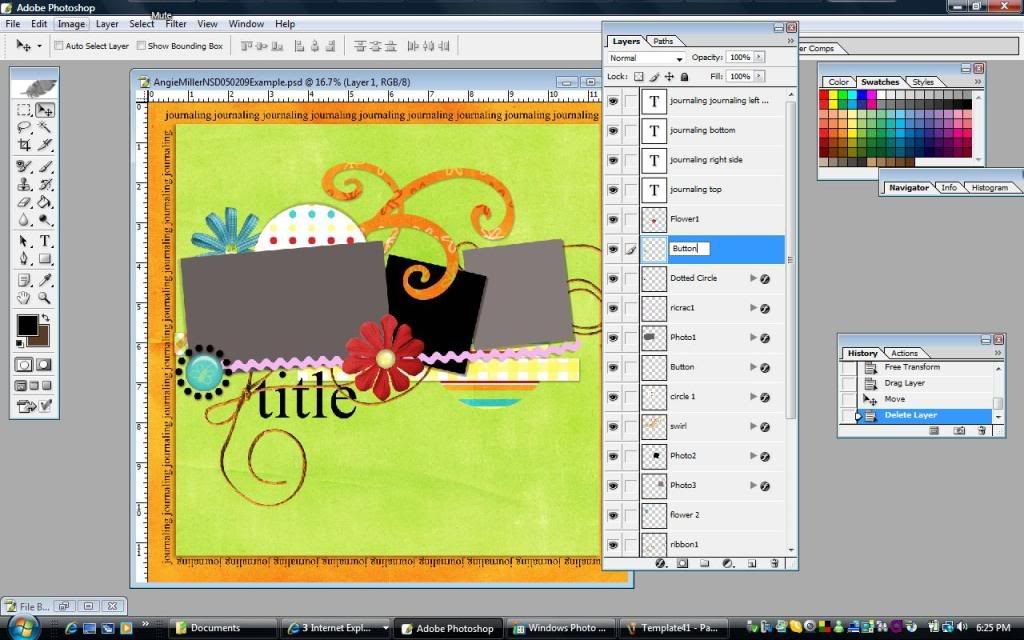
Now pick a brad/button from the kit you are using or any other kit of your choice that you would like to use as your flower2 element{I choose the blue button from the kit}… NOTE: you can resize the brad/button to any size you like…I made mine roughly 1x1 inches….Click on your move tool and place that tool over your brad/button, right click and DRAG it over to your template….make sure that layer is DIRECTLY above the button layer… Now you are going to delete the grayscale button layer … now you will see that your BUTTON layer just says “Layer 1” in your layers pallete..we are going to rename it “button”..{NOTE: you can arrange the button however you like…..}
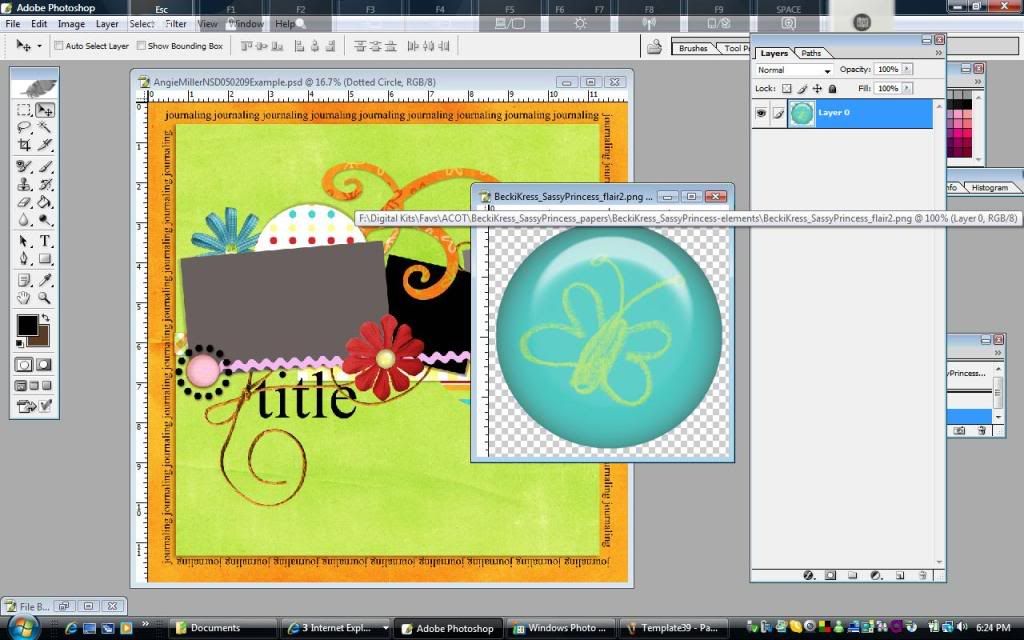
Step #15:
Now pick a paper from the kit you are using or any other kit of your choice that you would like to use as your dotted circles element{I choose the blue paper from the kit}… Click on your move tool and place that tool over your paper, right click and DRAG it over to your template….make sure that layer is DIRECTLY above the dotted circles layer… Now you are going to MERGE the layers down…I use CTR + G then CTR+E….this will merge your pattern/solid paper onto your dotted cirles layer


Step #16:
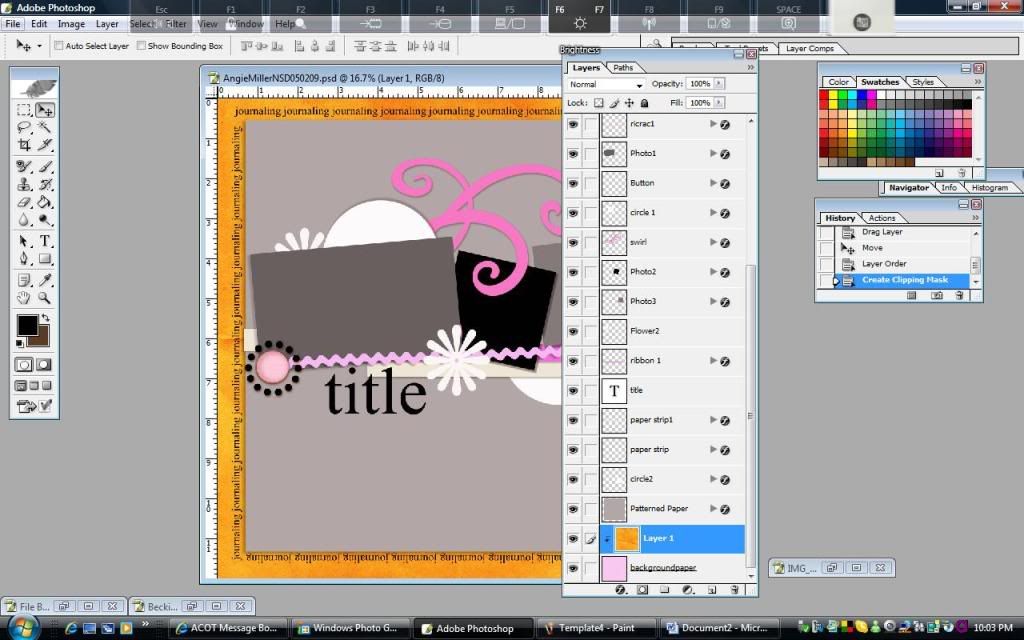
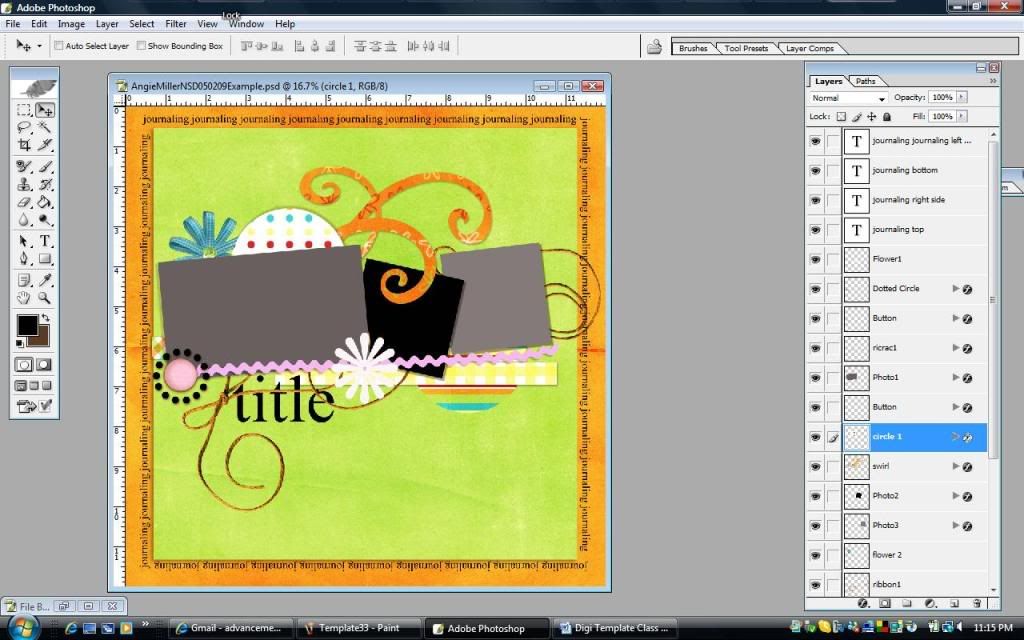
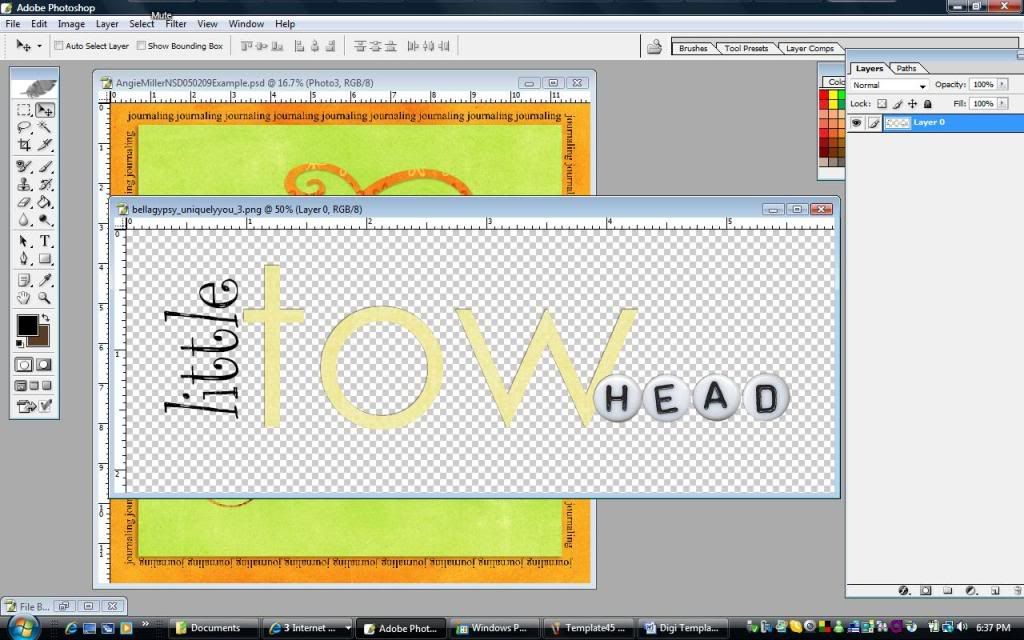
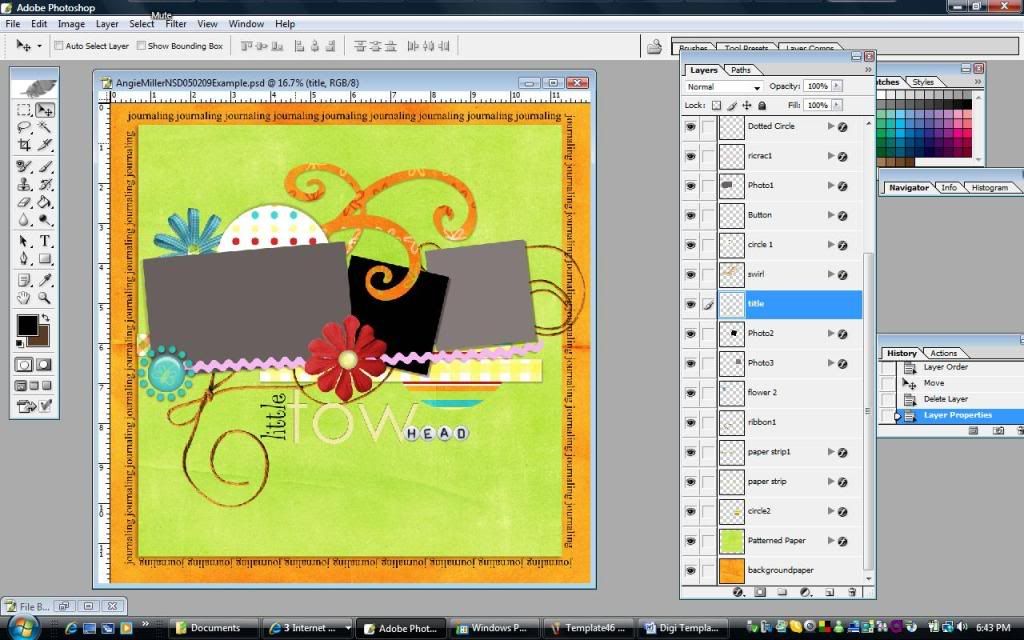
Now pick a title from the kit you are using or any other kit of your choice that you would like to use as your title{I choose one from Bellay Gypsy’s Uniquely You titles}… NOTE: you can resize the title to any size you like…Click on your move tool and place that tool over your title, right click and DRAG it over to your template….make sure that layer is DIRECTLY above the photo2 layer {this is so your title is over the ribbon/string layers}… Now you are going to delete the grayscale title layer … now you will see that your TITLE layer just says “Layer 1” in your layers pallete..we are going to rename it “title”..{NOTE: you can arrange the title however you like…..}
NOTE: YOU CAN DO A HAND TYPED TITLE AS WELL, IT IS WHATEVER YOU PREFER
Step #17:
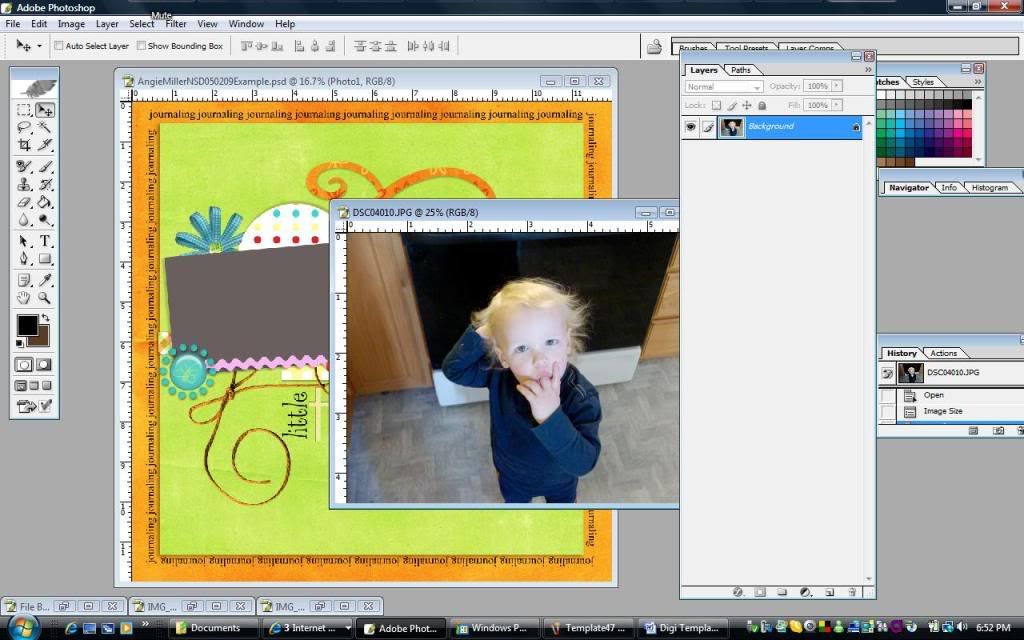
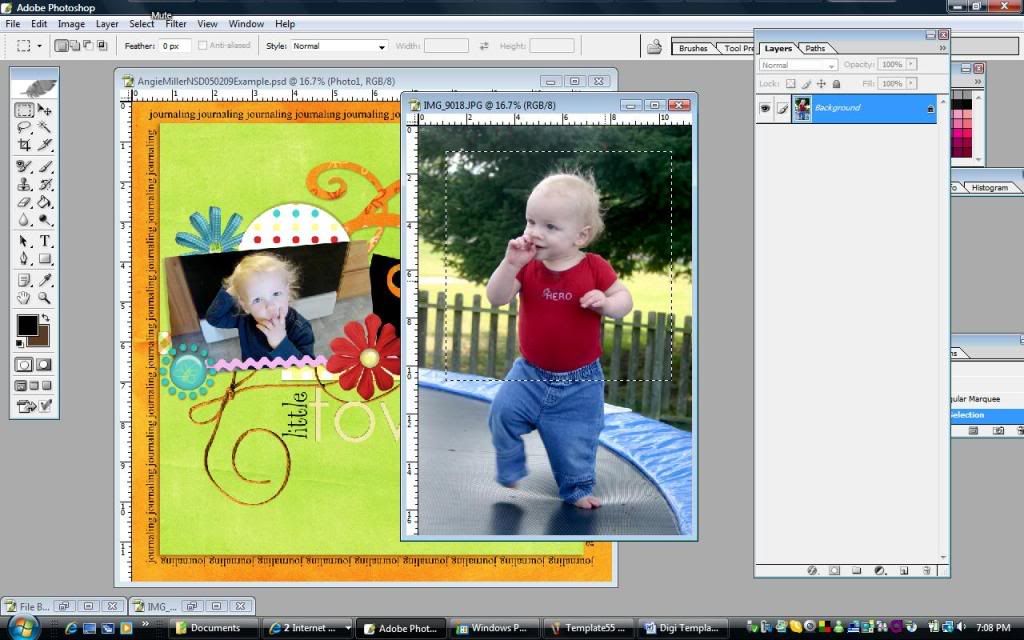
Pick 3 photos you would like to use…do any photo editing at this point….
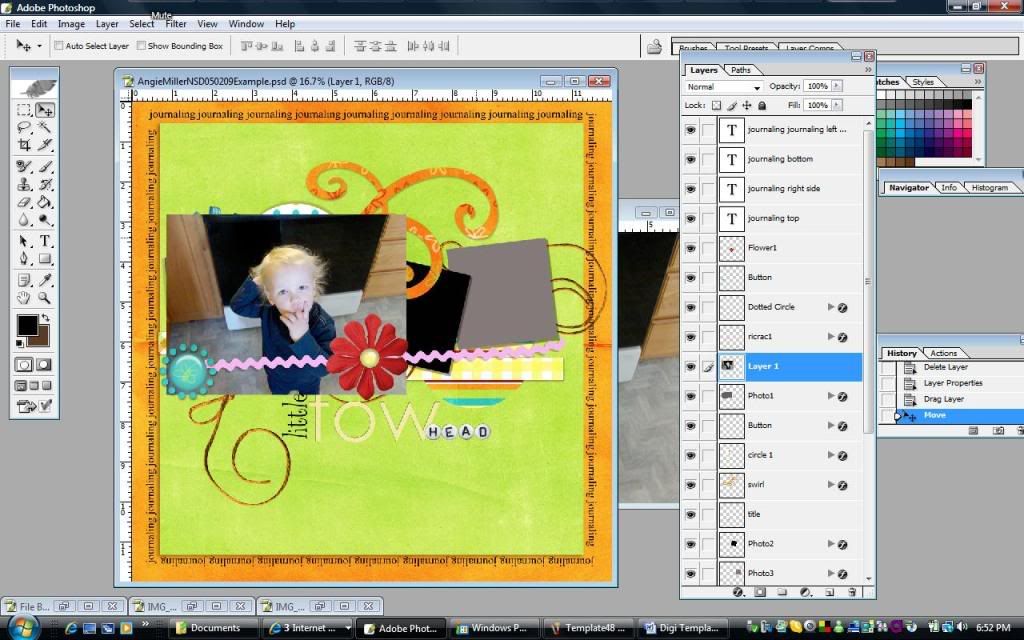
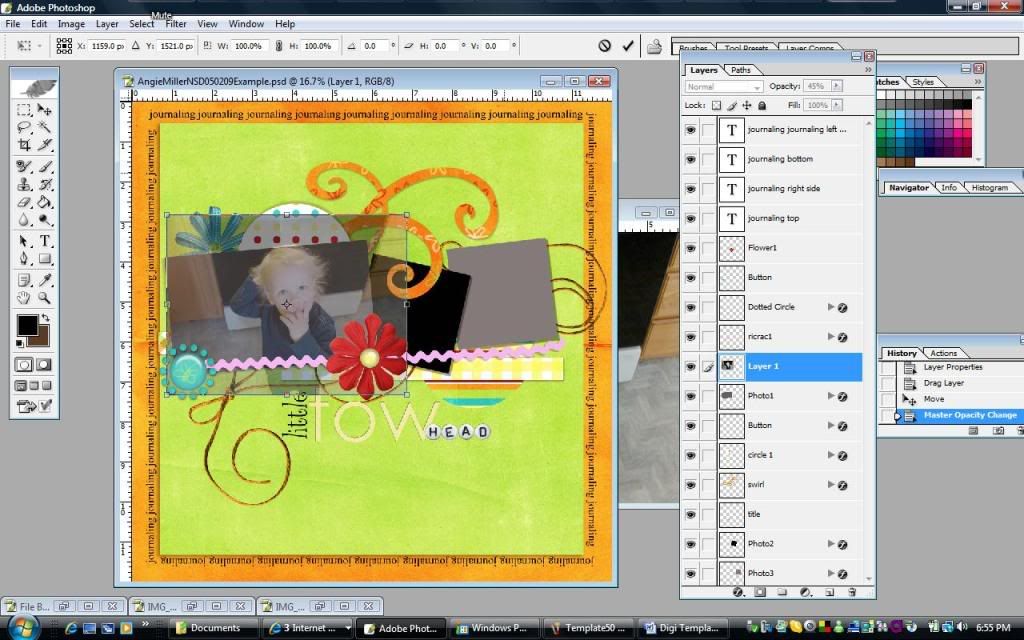
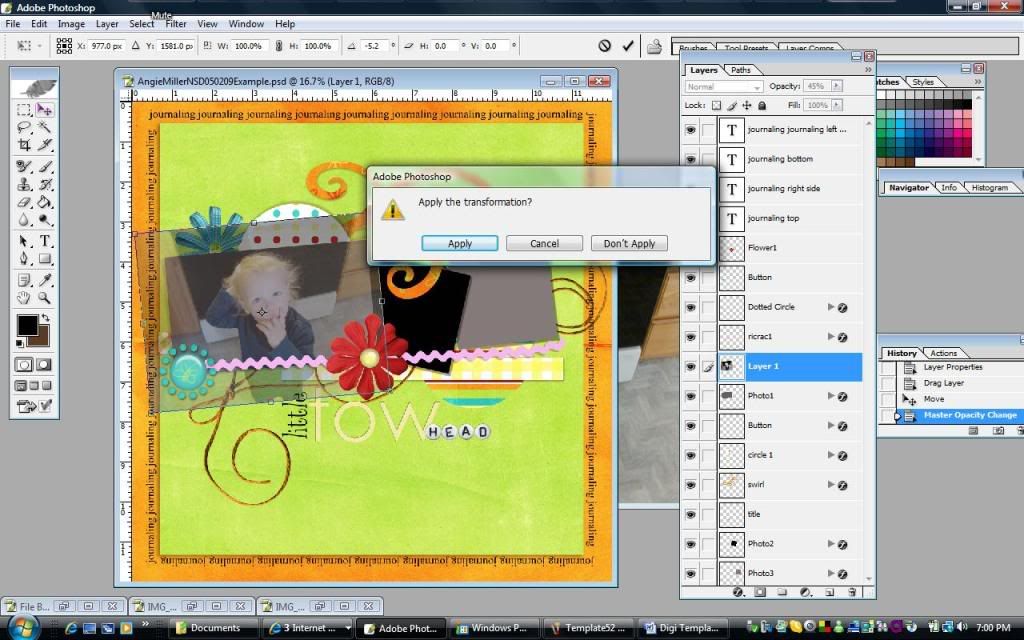
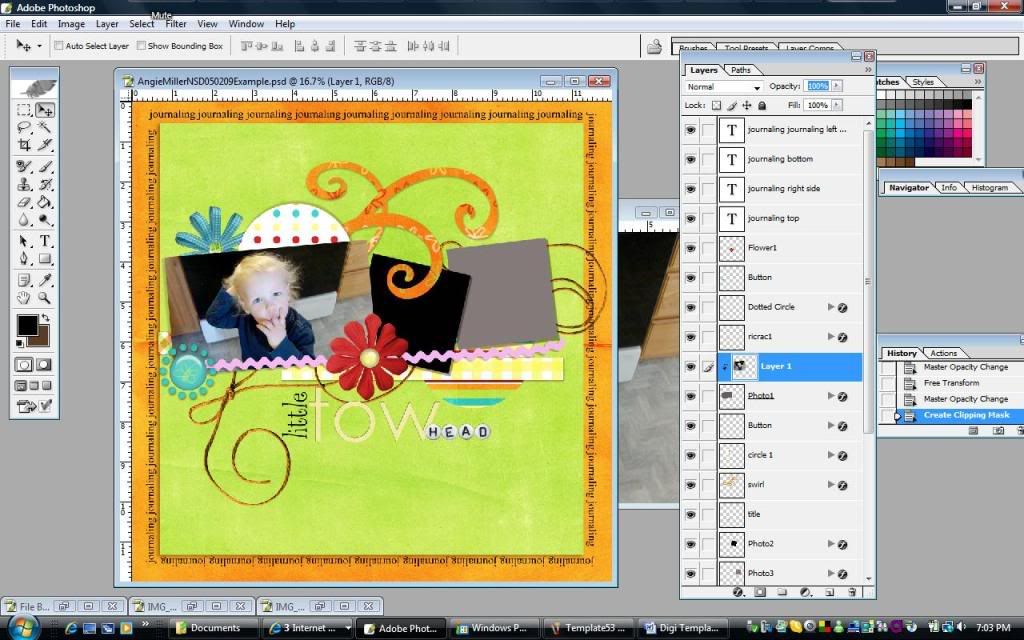
Start with picture #1 from your 3 chosen pictures{I choose pictures of my son because he is such a “TOW HEAD”, hence the tow head title!}… Make sure your image is roughly 4x6 ….Click on your move tool and place that tool over your picture, right click and DRAG it over to your template….make sure that layer is DIRECTLY above the photo1 layer …now we are going to change the opacity of your layer to see exactly how you would like it to be on your page {I ahnged mine to 45% so you could see the photo 1 template behind it…Now click CTR + T and you will get a little box around your photo, now go right to the right of the top right corner and a little half circle arrow will pop up, left click on your mouse and move your photo at the angle you like above the photo1 rectangle template, now click in the enter of your phot and you will see just the top of an arrow and you can move your photo directly in position that you want it over the photo1 rectangle template …now clikc on the MOVE tool and you will see a pop p box that says “apply the transformation” and click APPLY….now go back to your layers pallete and click on the opacity and take it back to 100%.... Now you are going to MERGE the layers down…I use CTR + G then CTR+E….this will merge your photo onto your photo1 layer…..now repeat for the other 2 photos…I went ahead and cropped my next 2 photos to square sizes…I made them each roughly 3x3…and then repeat all the other steps


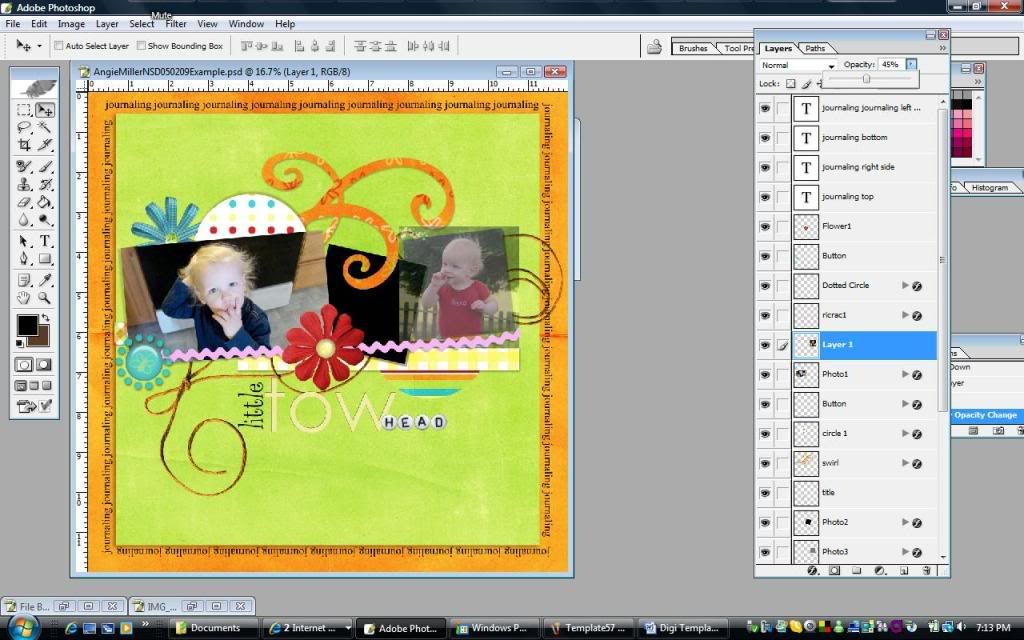
Step #18:
Go to each of the journaling layers, delete them and then type around the border of your LO…pick whatever font and size you like and journal away!!! You can also delete all these layers and do no journaling at all!!!
Example: MY LO with no journaling:
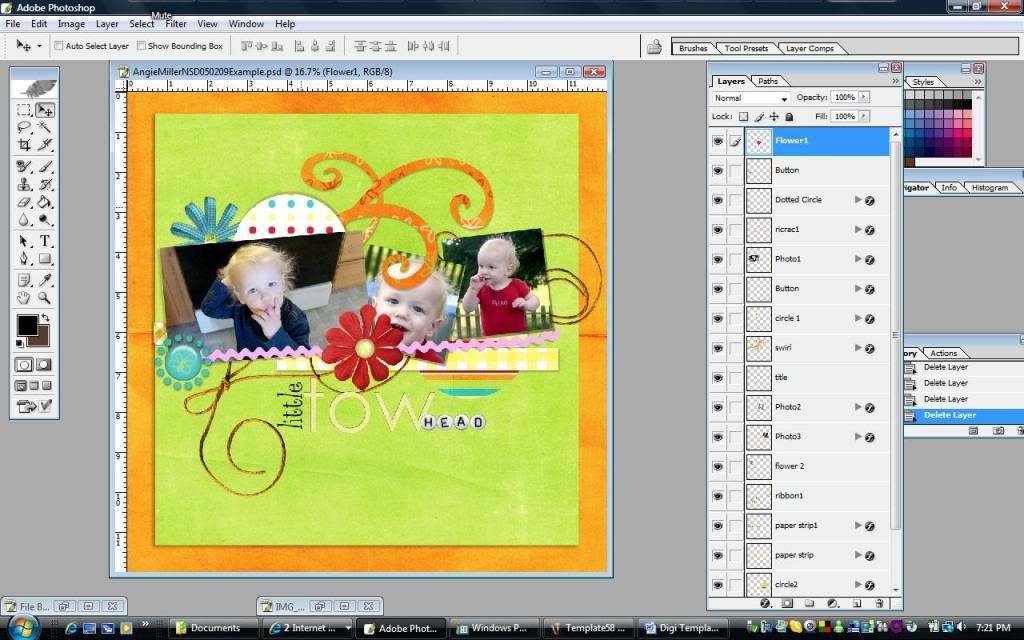
Step #19:
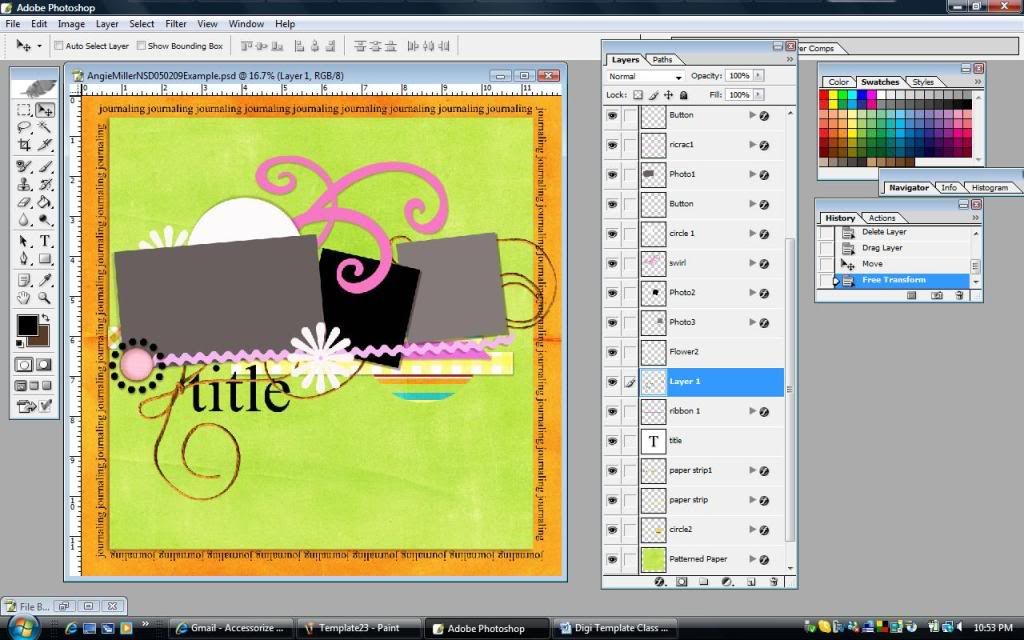
Now you can rotate and move any of the elements and items in your layers….also you can go and add more elements or pictures to your LO ….
Example of my LO after I moved a lot of the elements around: {I moved the swirl, rotated the cirlces a bit, I also moved photo #2 and flower #1 and since I decided I didn’t like the pink ric rack I went back and changed it to a red ribbon to match my son’s red shirt…} and I also added a few more elements to have that little "cluster" that I always seem to have on my LO's
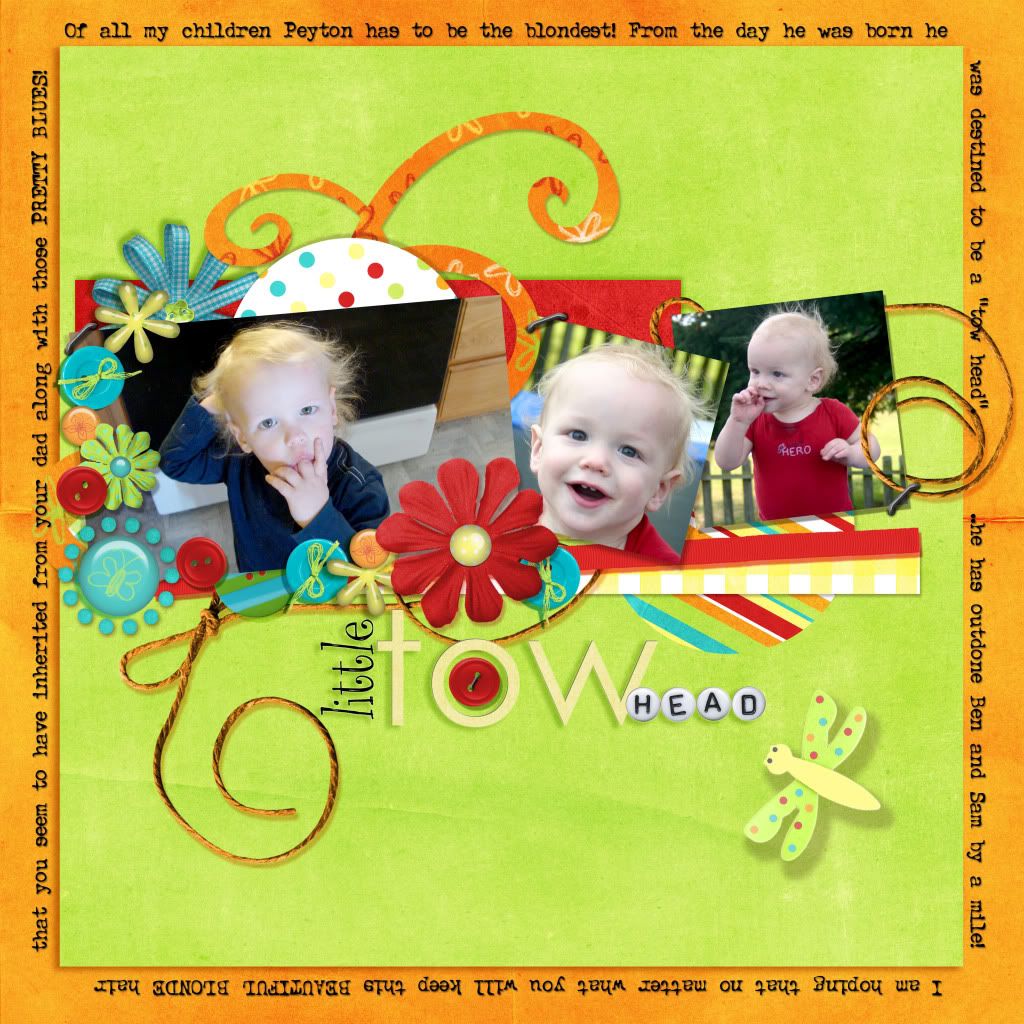
Step #20:
Now you can go back and add whatever shadows you would like to your layers …Can’t wait to see what you guys come up with
items used in this LO:
Becki Kress: Sassy Princess
Bella Gypsy Designs: Uniquely You


http://upload.acherryontop.com/gallery_viewer/102736


 ~Angie~


